Dragon Age has long focused on the rift between Mages and Templars, and by the start of Inquisition, war had broken out between the two factions, devastating significant portions of Ferelden. To close the Breach over the Temple of Sacred Ashes, the Inquisition needed allies from either faction to bolster the power from the mark on the Herald of Andraste‘s hand.
“Champions of the Just” becomes available after completing the quest “The Threat Remains” and may be unlocked at the war table after acquiring 15 power points. The recommended level for this quest is between four and seven. Once “Champions of the Just” has been launched, it will become impossible to work with the mages, so choose carefully.
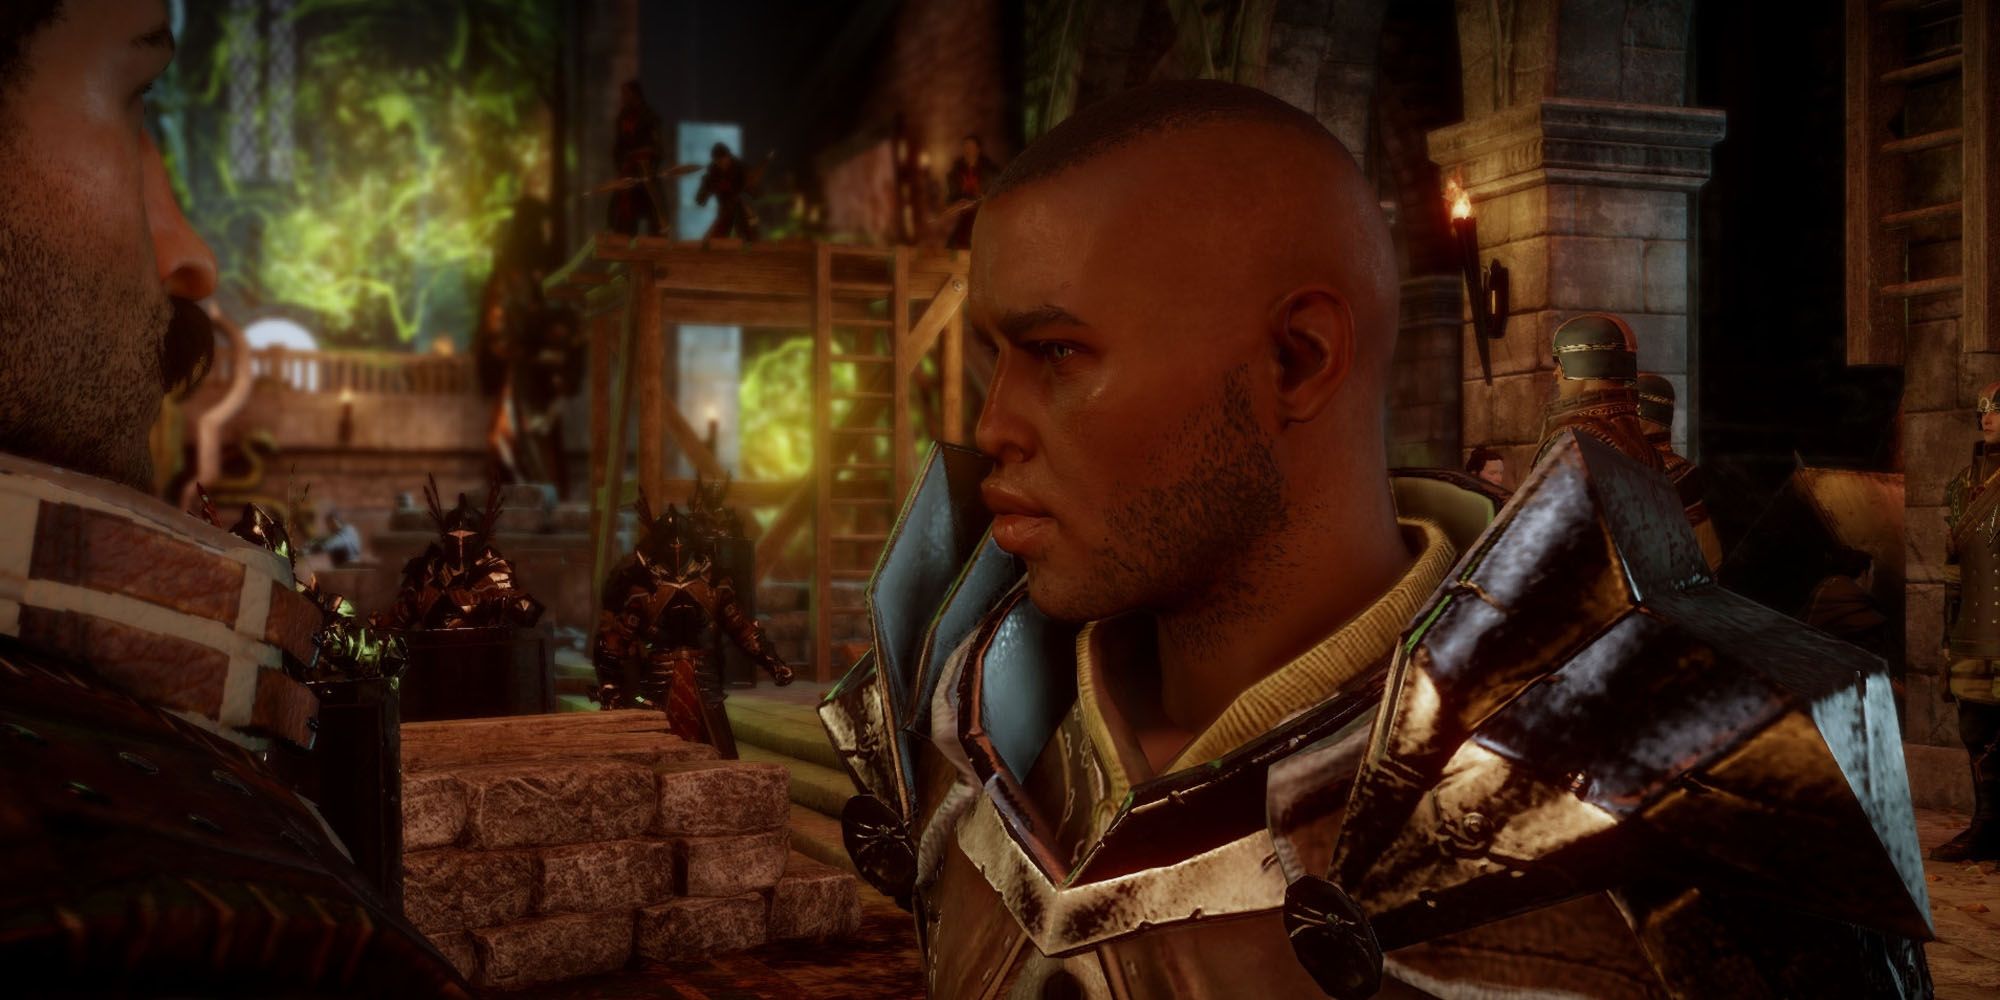
Mission: Therinfal Redoubt
Upon choosing “Champions of the Just,” Leliana and Josephine work behind the scenes to convince the noble families of Orlais to ally with them to convince the Templars and the Lord Seeker to help seal the Breach. Arriving in Therinfal Redoubt, where Lord Seeker Lucius has housed the remaining templars, the player meets with Lord Esmeral Abernache. There are opportunities to gain approval or disapproval depending on who is in the party and how the Herald responds to his greeting.
Before approaching the contact, Ser Delrin Barris, take a moment to look around the courtyard, as there is loot and an interesting note. Speak to Ser Delrin, who informs the Herald that the Lord Seeker wants them to perform a ritual. There are three flags representing the People, Andraste and the Templars, and the Herald must raise them in order of importance to show where their loyalties lie.
Each choice provokes reactions from different party members, and afterward Ser Delrin asks the Herald to explain why they made the choices they made. These answers also garner approval or disapproval from companions. Before leaving the area, make sure to pick up loot, as it becomes inaccessible after entering the keep.
Mission: The Corrupted Templars
Entering the keep launches a cutscene that pushes the party into an immediate battle with Templars corrupted by red lyrium. Once this initial group has been defeated, Lord Denam remains alive and the Herald reserves him for later judgment before moving on with Ser Delrin and the rest of the party to search for the Lord Seeker. From this point forward, the party fights their way through the keep, facing Red Templars, while also picking up uncorrupted Templar allies along the way.
Head to the door with two Templars standing guard outside and enter the room. There are two locked doors in this area that will require a Rogue to open up. Upon reaching the upper courtyard area, the fighting continues until reaching the mess hall, where ally Templars battle Red Templars. There is a note and a codex entry to pick up here before heading toward the captain’s quarters to confront Lord Seeker Lucius. He is not inside, but there is a large chest of loot containing various items and the Masterwork Seeker Shield schematic. This is an opportunity to speak with Ser Delrin to get more information.
After leaving the room, head up the stairs in search of the Lord Seeker, who calls out from the top of the stairs. Loot the area before heading up the steps, which triggers a cutscene during which the Lord Seeker pulls the Herald through the door and reveals his true nature. He is actually an Envy Demon, and he accepted the meeting with the Inquisition in hopes of stealing the Herald’s identity.
Mission: Escape the Demon’s Trap
The Envy Demon leads the Herald through a series of scenes, each time drawing more information it can use to steal their identity. At the last statue, a second voice begins speaking, annoying the demon but luring the Herald into a strange room where everything is set up wrong. Cole stands on the ceiling and offers to help the Herald escape.
Follow Cole into the next section, a prison with various cells. Some of the cells reveal information about the Envy Demon’s plans, which can later be used to move forward on certain tasks with the Inquisition. Speak to Cole in the last cell to trigger a veilfire brazier before he disappears again. Light a torch and go back to the darkest cell to grab the “prison key,” then light the braziers in each of the cells to trigger a fourth brazier at the end of the hallway. Light this to push back the wall and expose a hidden cavern, then escape the area only to exit into a mysterious forest.
Eventually, the landscape becomes familiar as it melds into Therinfal Redoubt. There are enemies in this area, and the Envy demon goads the Herald into attacking them, but it isn’t necessary. All the Herald needs to do is return to the area where the demon took them. Reaching this area at the top of the stairs launches a cutscene in which Envy has locked itself behind a barrier and the templars plan to break it down.
Mission: Eliminate the Barrier
To break down the barrier, the Templars need a stash of uncorrupted lyrium and their uncorrupted lieutenants. The Herald and party will have to exit the Great Hall to find the Officer’s Quarters and a path to the Upper Barracks. Demons and Red Templars run rampant outside, blocking the way and taking valuable time away from each mission. Upon leaving the hall, a timer starts, and the Herald has to return before it reaches the end. The party will have to venture out at least twice.
To find the Upper Barracks, head left upon leaving, then right at the top of the ramp. Battle through enemies on the path to reach the lieutenants, then approach the breakable wall and smash it open. There is another bashable wall to break down so the party can reach Knight-Lieutenant Abrahas. There is a lot of loot to discover in this area, so grab it while saving the lieutenants, and head back to the Great Hall. Battle through the horrors, grab the loot and head back out to find the lyrium.
Head toward the Officer’s Quarters, retrieving any remaining lieutenants along the way. Grab the lyrium stash and head to the middle door, where Cole reveals a plot to assassinate the Empress of Orlais. Grab the Lord Seeker’s key and open the chest for some powerful loot, then head back to the Great Hall. Defeat the shades and speak to Ser Delrin to begin pulling down the barrier. There are a lot of Red Templars to fight through here, so take a moment to position party members strategically and dive into the fight. Once they’ve all been dispatched, it’s time to face the Envy Demon.
Mission: Defeat the Envy Demon
The Envy Demon has some powers that can debilitate the party with fear and slow them down if the player isn’t cautious with their positioning. Mages can disable the fear magic, but not the slowing effect, and the demon is immune to disabling effects. After deploying its area-of-effect, it will go underground and pop up again, flinging projectiles. Once a third of its health bar has been knocked down, it will retreat and summon Red Templars into the fight. Take them out and return focus to the demon, will transform into a black mass with glowing eyes.
At this point, Cole joins in the battle to help take it out, and as long as none of the party’s Warriors taunt it to focus on them, it will focus most of its attention on Cole. With only one third of its health remaining, the demon will return to its original form, and spikes will begin stabbing up from the ground. Finish it off and grab the loot it drops, some of which is pretty powerful.
Speak to the remaining Templars to cement the alliance. How the Herald receives the Templars into the Inquisition will prompt different responses from party members. Upon returning to Haven, Cole will appear on top of the War Table, where he offers his service. The Herald can either accept him into the party or refuse his help. If he is refused, he disappears and makes everyone forget about him. Either way, with powerful allies at the Inquisition’s disposal, the time has come at last to focus on closing the Breach.
About The Author
